Deepin开发环境配置,VSCode配置
 配置 Deepin 和 VSCode 的开发环境
Deepin 的配置
git
1 | sudo apt install git -y |
c++
1 | sudo apt install build-essential -y |
python
1 | # 安装conda |
nvm, node
1 | # 安装nvm |
PicGo
参考链接.
1 | # 使用npm安装picgo |
java, scala, chisel
JDK is short for Java Development Kits, as described before Scala has to run in JVM.
1
sudo apt install openjdk-11-jdk
Install sbt, sbt is a build tool for Scala. SBT can be used to
- Compile Scala projects
- Download libraries for Scala, for example sbt can download Chisel jars automatically.
We can't just use
apt install sbtto install sbt, because Ubuntu's official repository doesn't have sbt. Use the following commands to install sbt on Ubuntu. The official installation guide for SBT.1
2
3
4
5
6
7
8sudo apt-get update
sudo apt-get install apt-transport-https curl gnupg -yqq
echo "deb https://repo.scala-sbt.org/scalasbt/debian all main" | sudo tee /etc/apt/sources.list.d/sbt.list
echo "deb https://repo.scala-sbt.org/scalasbt/debian /" | sudo tee /etc/apt/sources.list.d/sbt_old.list
curl -sL "https://keyserver.ubuntu.com/pks/lookup?op=get&search=0x2EE0EA64E40A89B84B2DF73499E82A75642AC823" | sudo -H gpg --no-default-keyring --keyring gnupg-ring:/etc/apt/trusted.gpg.d/scalasbt-release.gpg --import
sudo chmod 644 /etc/apt/trusted.gpg.d/scalasbt-release.gpg
sudo apt-get update
sudo apt-get install sbtCheck if your enviroment is OK
We can also run a chisel-example to check Scala works well.1
2
3javac --version # should output some info about java
java --version # should output some info about javac
sbt # should enter sbt shell, ctrl+C to quithello-world is a self contained minimal project for a blinking LED in an FPGA. You can find the chisel codes under1
2git clone https://github.com/schoeberl/chisel-examples.git
cd chisel-examples/hello-world/srcfolder. Use the following code to do a Chisel Test, it should output blinking in terminal.1
sbt test
在 Jupyter Notebook 中配置 Scala Kernel
1
2
3
4
5
6
7
8
9
10
11
12
# 卸载之前的kernel
rm -rf ~/.local/share/jupyter/kernels/scala/
# 安装Scala Kernel
curl -L -o coursier https://git.io/coursier-cli && chmod +x coursier
SCALA_VERSION=2.12.10 ALMOND_VERSION=0.9.1
./coursier bootstrap -r jitpack \
-i user -I user:sh.almond:scala-kernel-api_$SCALA_VERSION:$ALMOND_VERSION \
sh.almond:scala-kernel_$SCALA_VERSION:$ALMOND_VERSION \
--sources --default=true \
-o almond
./almond --install
gtkwave, verilator
1 | sudo apt-get install verilator gtkwave |
matlab
去官网下载安装 Matlab,安装到/opt/下即可,安装的时候需要选择以下 6 个组件。安装的时候,勾选把 matlab 命令添加到/usr/bin,这样可以直接在终端中打开 MATLAB.
- MATLAB
- Audio Toolbox
- Control System Toolbox
- DSP System Toolbox
- Signal Processing Toolbox
- Symbolic Math Toolbox
设置 Matlab 的放大比例,Maltab 默认设置在 Linux 的高清屏下字体显示会太小, 在 matlab 中输入以下命令并重启。
1
s.matlab.desktop.DisplayScaleFactor.PersonalValue = 2
设置 MATLAB 图标,下载对应的matlab_logo.png
1
2
3
4
5
6
7
8
9
10
11
12
13
14
15
16# 添加desktop文件
sudo vim /usr/share/applications/matlab.desktop
# 添加如下信息
[Desktop Entry]
Name=MATLAB R2022b
Comment=MATLAB R2022b software
Exec=/opt/MATLAB/R2022b/bin/matlab -desktop
Icon=/opt/MATLAB/R2022b/matlab_logo.png
Terminal=false
Type=Application
Category=Development;Simulation;Education;Science;
StartupNotify=true
Keywords=Run;
# 从matlab_logo.png移到对应目录
Latex
1 | # 安装texlive-full |
接下来要安装 LaTex 的编辑器,可以去官网下载 Tex Studio,s 但是我更喜欢使用 VSCode,只需要在 VSCode 中添加 LaTex 扩展即可。
在 Deepin
的终端中打开文件的命令是dde-file-manager,后面跟需要打开的文件的路径即可。
docker
app store 下载的应用
sogou input, wechat, wsp, typora, netease music, chrome, vscode, chrome, Artha
添加微软字体
如果安装了双系统,去 C 盘下面的 Windows 目录下,把 fonts 文件夹复制过来。
打开 deepin 的字体管理器(font manager),选择添加字体,将 fonts 文件夹里面的内容全选添加即可,重启 WPS 就可以使用宋体等字体了。
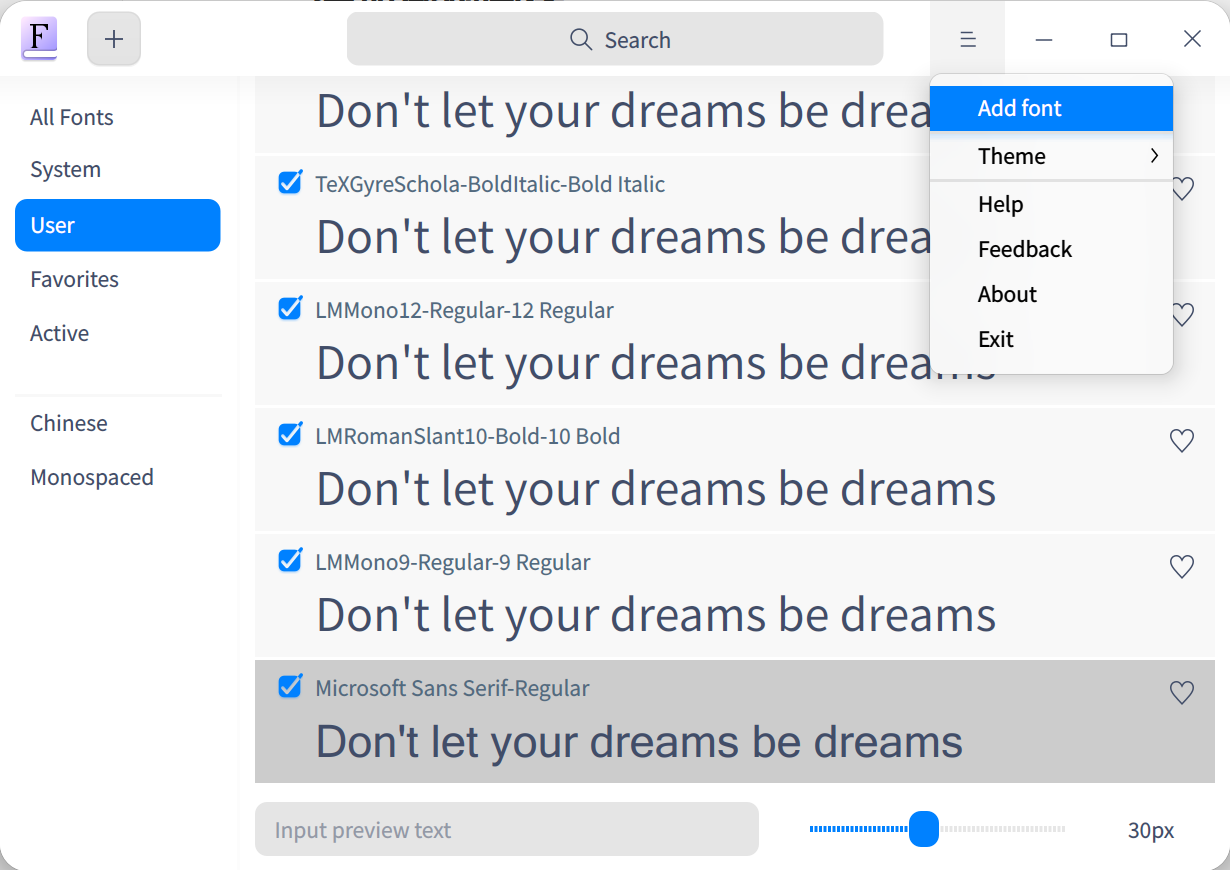
手动添加字体到 WPS 字体库,这一步可能是不需要的,因为上一步安装了字体到系统之后,WSP 应该是可以搜索到系统字体的,此步只做记录。
1
mv Fonts/ /usr/share/fonts/wps-office/
更改 WPS 为中文界面:在 deepin 中,如果你选择的系统语言是英文,那么你的 WPS 也会是英文界面,此时看不到字号“五号“这样的类型,也看不到“黑体”。需要将 WPS 的显示界面改正中文。
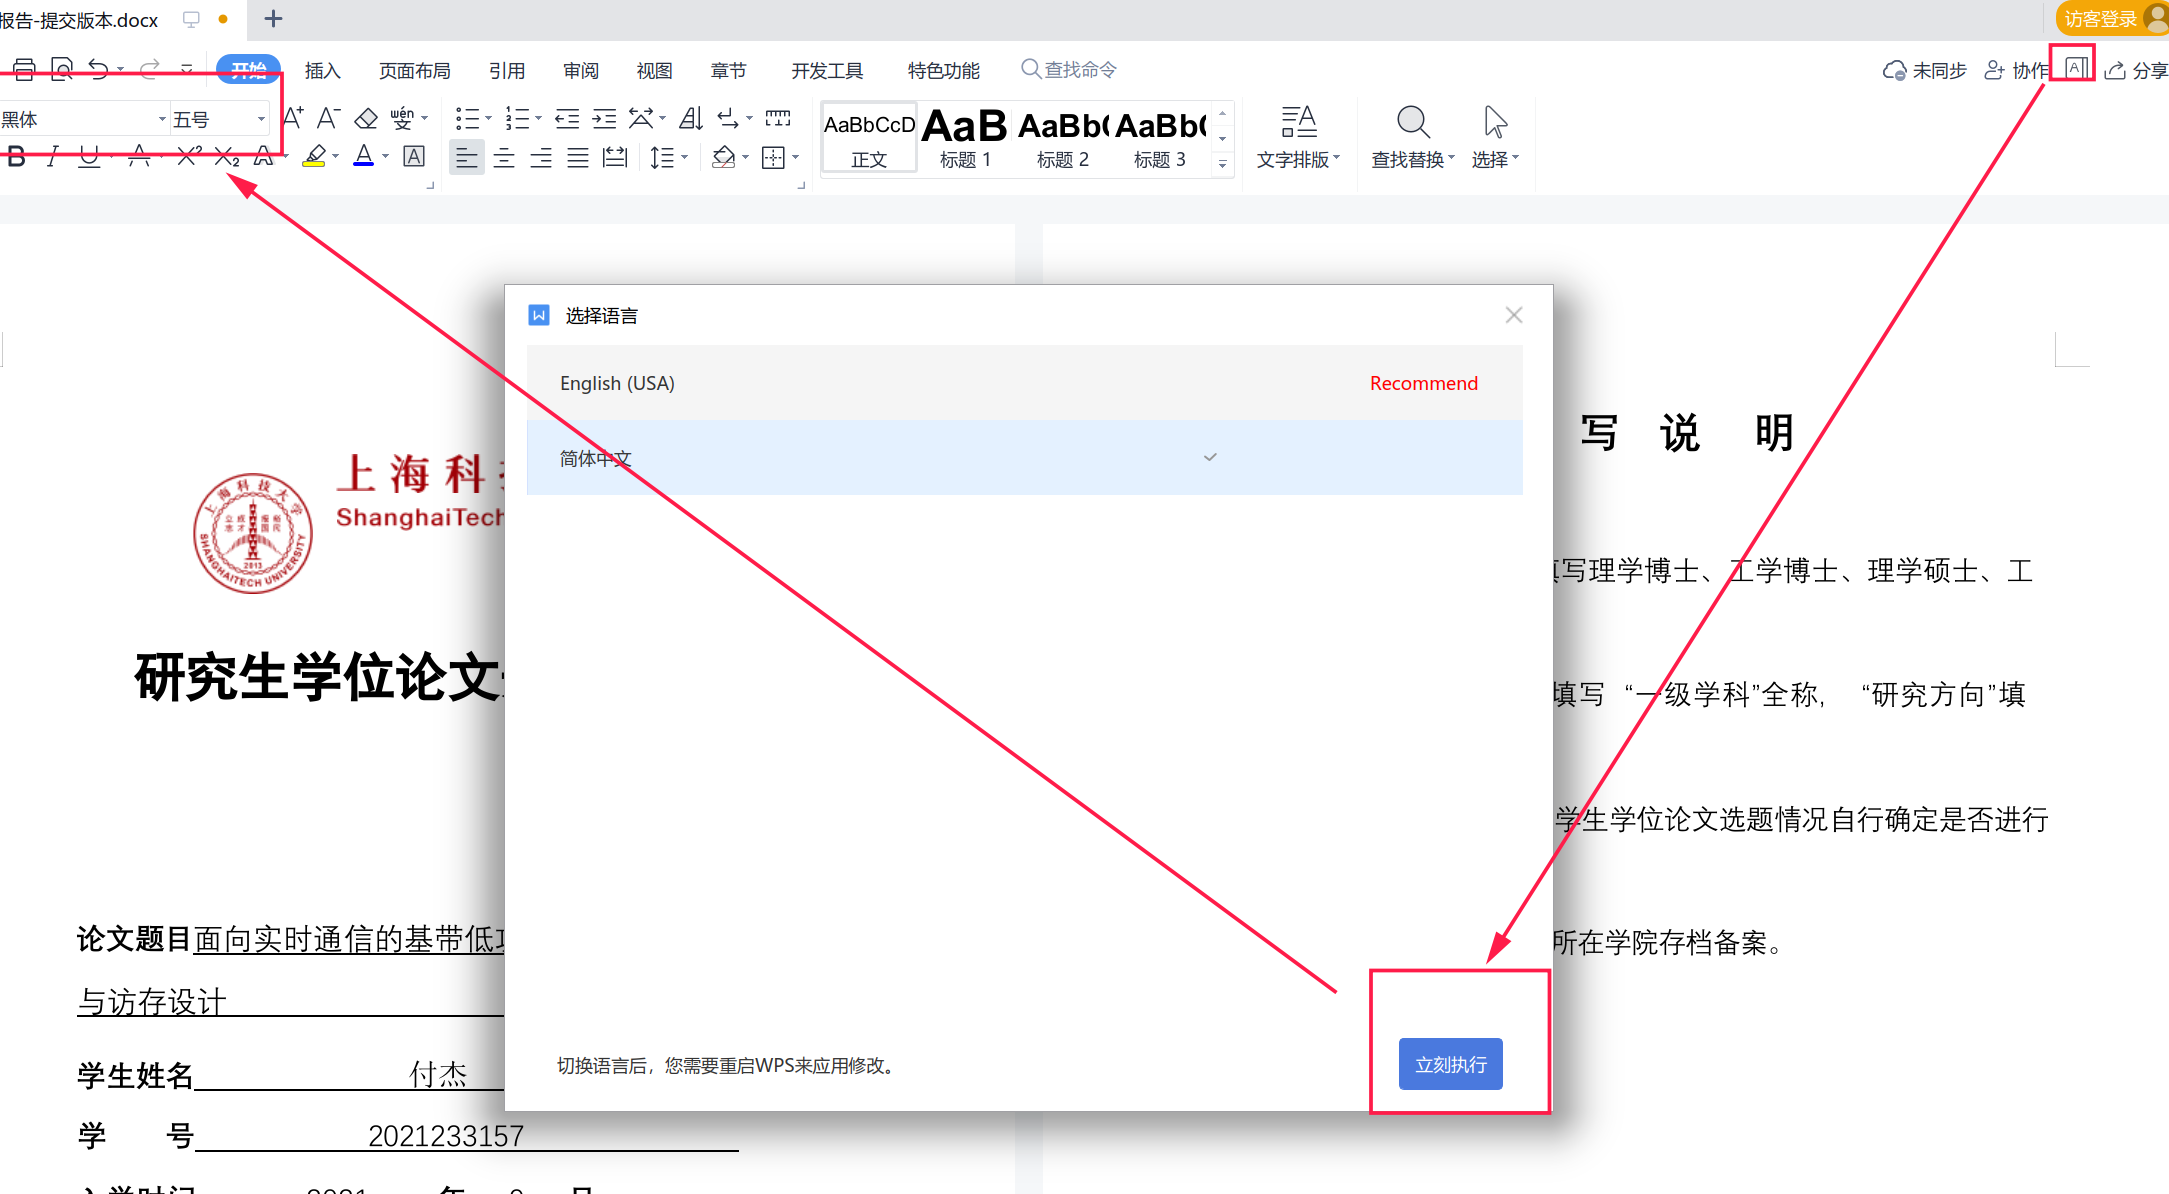
如果看不到上面的显示中文选项,需要安装 WPS 中文包:
sudo pacman -S wps-office-mui-zh-cn。或者从百度进入官网下载
WPS 中文版也可以。
clash
到 Github 下载windows-Linux版本,安装到 opt 即可
davinci:安装了,用不了。好像是
AMD GPU 驱动的问题。
官网下载安装 Davinci,按照安装 PDF 里面的说明,安装即可安装 AMD 驱动.- 使用 flowblade
替代:
sudo apt-get install flowblade
- 使用 flowblade
替代:
Foxit PDF Reader
- 在官网下载安装包进行安装
- 字体在 Linux 下太小, TBD
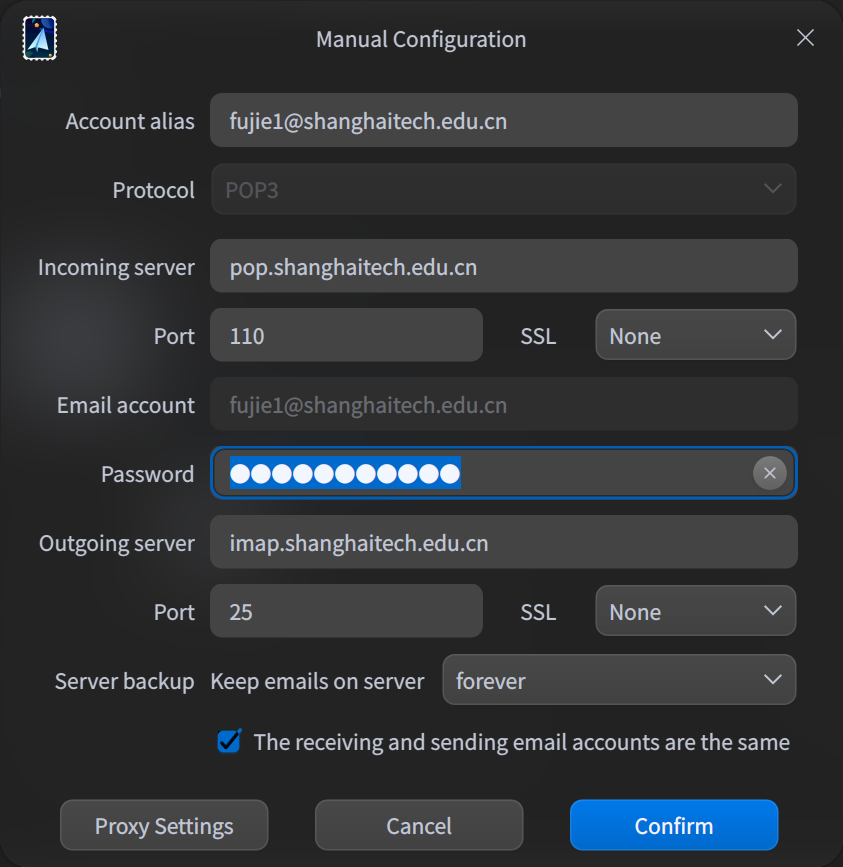
系统自带的 Mail,连接上科大时的配置如下:
- incoming 使用 pop3
- outcoming 使用 imap
VSCode 的配置
建议开启 VSCode 的同步功能,可以同步所有的设置、插件等信息
Matlab 配置
C++配置
- C/C++
Python 配置
- Python
- Jupyter
Java/Scala/Chisel 配置
- Scala (Metals)
- Scala Syntax
Latex
- LaTeX Workshop:安装了这个插件之后,可以通过 vscode 编译 latex 文件了。插件的 Recipe 选择:xe->bib->xe->xe 或者 pdf->bib->pdf->pdf,可以编译参考文献。
- Markdown All in One